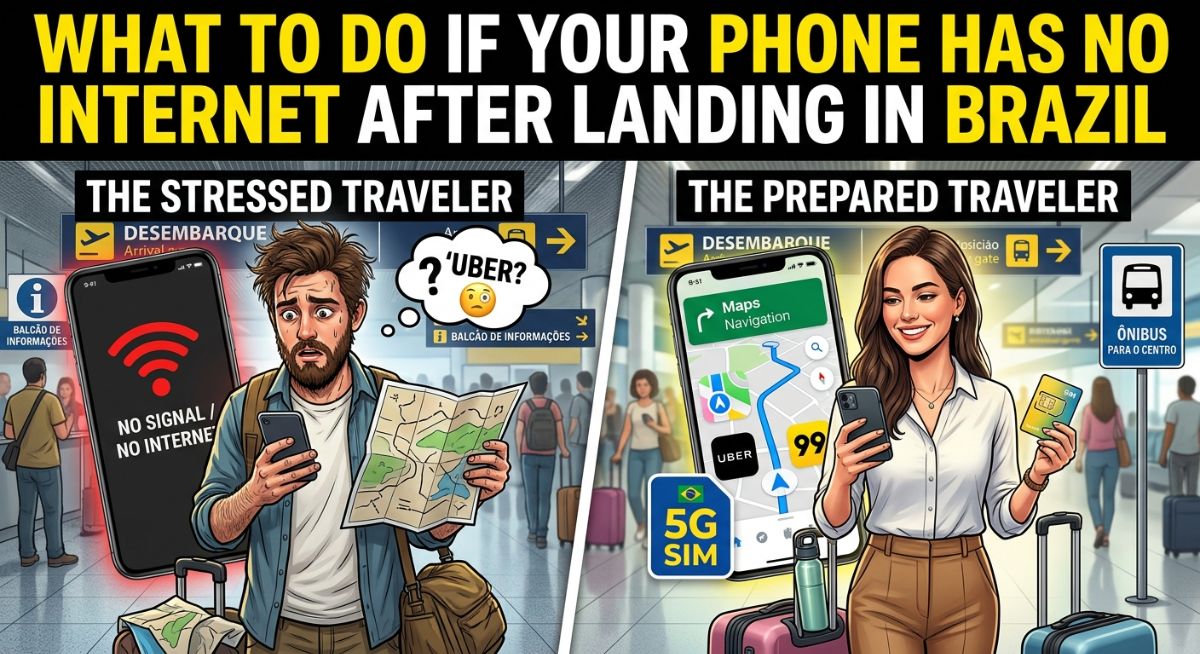
What to Do If Your Phone Has No Internet After Landing in Brazil
Stepping through arrivals at São Paulo (GRU), Rio de Janeiro (GIG), or Brasília (BSB) without cellular data triggers immediate vulnerability. You need an active connection to order an Uber to your hotel, translate signage, load reservation addresses, and message family that you have landed safely. Seeing “No Service”, “Emergency Calls Only”, or full signal bars with an exclamation mark while standing by the luggage carousel turns an exciting arrival into a high-friction situation.
Most travelers assume their eSIM profile failed, their physical travel SIM is defective, or their carrier locked their line. In over 90% of cases, the breakdown comes from minor handset configurations: data roaming toggled off by default, incorrect APN (Access Point Name) settings, roaming registration failures on partner networks (Claro, Vivo, or TIM), or Dual SIM conflicts. Before buying an overpriced SIM package at airport kiosks, walk through this sequential troubleshooting guide to restore connectivity in 2026.
Connection Failure Triage: Rapid Symptom Diagnosis
Match your smartphone’s status bar behavior to the immediate fix below:
| Status Bar Symptom | Probable Cause | Immediate Corrective Action | Resolution Time |
|---|---|---|---|
| Full 4G/5G bars, but zero data loads | Data Roaming disabled or APN missing/corrupt. | Enable “Data Roaming” on the travel SIM profile; verify APN text. | Under 1 minute |
| Persistent “No Service” or “Searching…” | Automatic network search stuck on an unpartnered Brazilian carrier. | Disable automatic selection; manually choose Claro, Vivo, or TIM. | 2 to 3 minutes |
| Dual SIM: Data routes to primary home line | Phone assigned mobile data default to your domestic home card. | Assign travel eSIM as primary data line; turn off cellular data switching. | 1 minute |
| “SIM Not Supported” / “Network Locked” | Device carrier-locked by your original domestic provider. | Use terminal Wi-Fi; contact home carrier or rent a pocket Wi-Fi router. | External fix required |
Step-by-Step Recovery: Five Practical Checks
1. Toggle “Data Roaming” On
This setting causes roughly 75% of travel data failures. Most tourist eSIMs and multi-country physical SIM cards rely on wholesale roaming partnerships. They must latch onto a local Brazilian network to route your data. If roaming remains switched off, your phone blocks all data transfer to protect you from roaming charges.
- iOS (iPhone): Open Settings > Cellular > SIMs / eSIMs, select your travel line, and turn on both Turn On This Line and Data Roaming.
- Android: Open Settings > Network & internet (or Connections) > SIMs > tap your travel SIM and toggle Roaming on.
2. Manually Select a Brazilian Partner Carrier
Upon landing, your smartphone attempts to register with the strongest local cellular tower. If your roaming package has routing agreements with Vivo or Claro, but your phone defaults to TIM, the device may show “No Service” or refuse data handshakes.
- Navigate to your travel line’s cellular network settings.
- Toggle off Automatic Network Selection.
- Allow the device up to two minutes to scan local cellular towers.
- Test available networks manually in this order: Claro, Vivo, then TIM. Wait 30 seconds after selecting each one to see if data flows.
3. Verify the APN (Access Point Name)
The APN serves as the digital gatekeeper directing traffic between your phone and your carrier’s data gateways. While many profiles populate this automatically, OS updates and roaming handoffs can wipe this field or retain legacy home carrier parameters.
- Check your provider’s setup instructions (saved via email or screenshot) for the exact APN text (common examples include
globaldata,internet, or provider-specific names). - Go to Cellular Data Network (iOS) or Access Point Names (Android).
- Enter the exact APN string in lower case without spaces, save the setting, and restart your device.
4. Resolve Dual SIM Routing Conflicts
Travelers using their home physical SIM for two-factor SMS alongside an eSIM often run into data assignment conflicts.
- Assign your travel eSIM as the dedicated default line for Cellular Data.
- Disable “Allow Cellular Data Switching”: Leaving this enabled allows your phone to switch back to your home SIM when local reception dips, which can cause unexpected carrier roaming bills or leave you offline if foreign roaming is blocked at home.
5. Cycle the Connection or Reset Network Settings
If settings appear correct but data remains stalled, clear network caches:
- Turn on Airplane Mode for 15 seconds, then turn it off to force a fresh cell-tower handshake.
- If that fails, perform a Reset Network Settings. This clears stored Wi-Fi passwords and Bluetooth connections without deleting personal files, resetting internal antenna software to clean defaults.
Immediate Arrival Workarounds
Never Delete Your eSIM Profile: Do not delete your eSIM plan from your phone settings to “scan the QR code again.” Almost all travel eSIM QR codes are single-use tokens. Deleting the profile de-registers the digital SIM on the carrier’s server, voiding your plan and forcing you to buy an entirely new one.
Fall Back to Airport Wi-Fi and Secure Taxi Desks: If troubleshooting takes too long, connect to the airport’s open Wi-Fi network (such as GRU Airport Wi-Fi or RIOgaleao Free Wi-Fi) to message contacts and pull up hotel details. If your phone remains offline, bypass rideshare apps entirely: walk to the official indoor airport taxi cooperative counter (like Guarucoop at GRU or Aerotáxi at GIG) to arrange a flat-rate, prepaid ride directly to your hotel curb.
Authoritative Support Portals
Access official device support guides to troubleshoot international roaming configurations:
- Troubleshoot iPhone cellular roaming via Apple Official Cellular Data Support.
- Review connection steps for Android hardware on Google Android Help Center.
- Check international telecom regulations and standards with the Agência Nacional de Telecomunicações (Anatel).

Post Comment